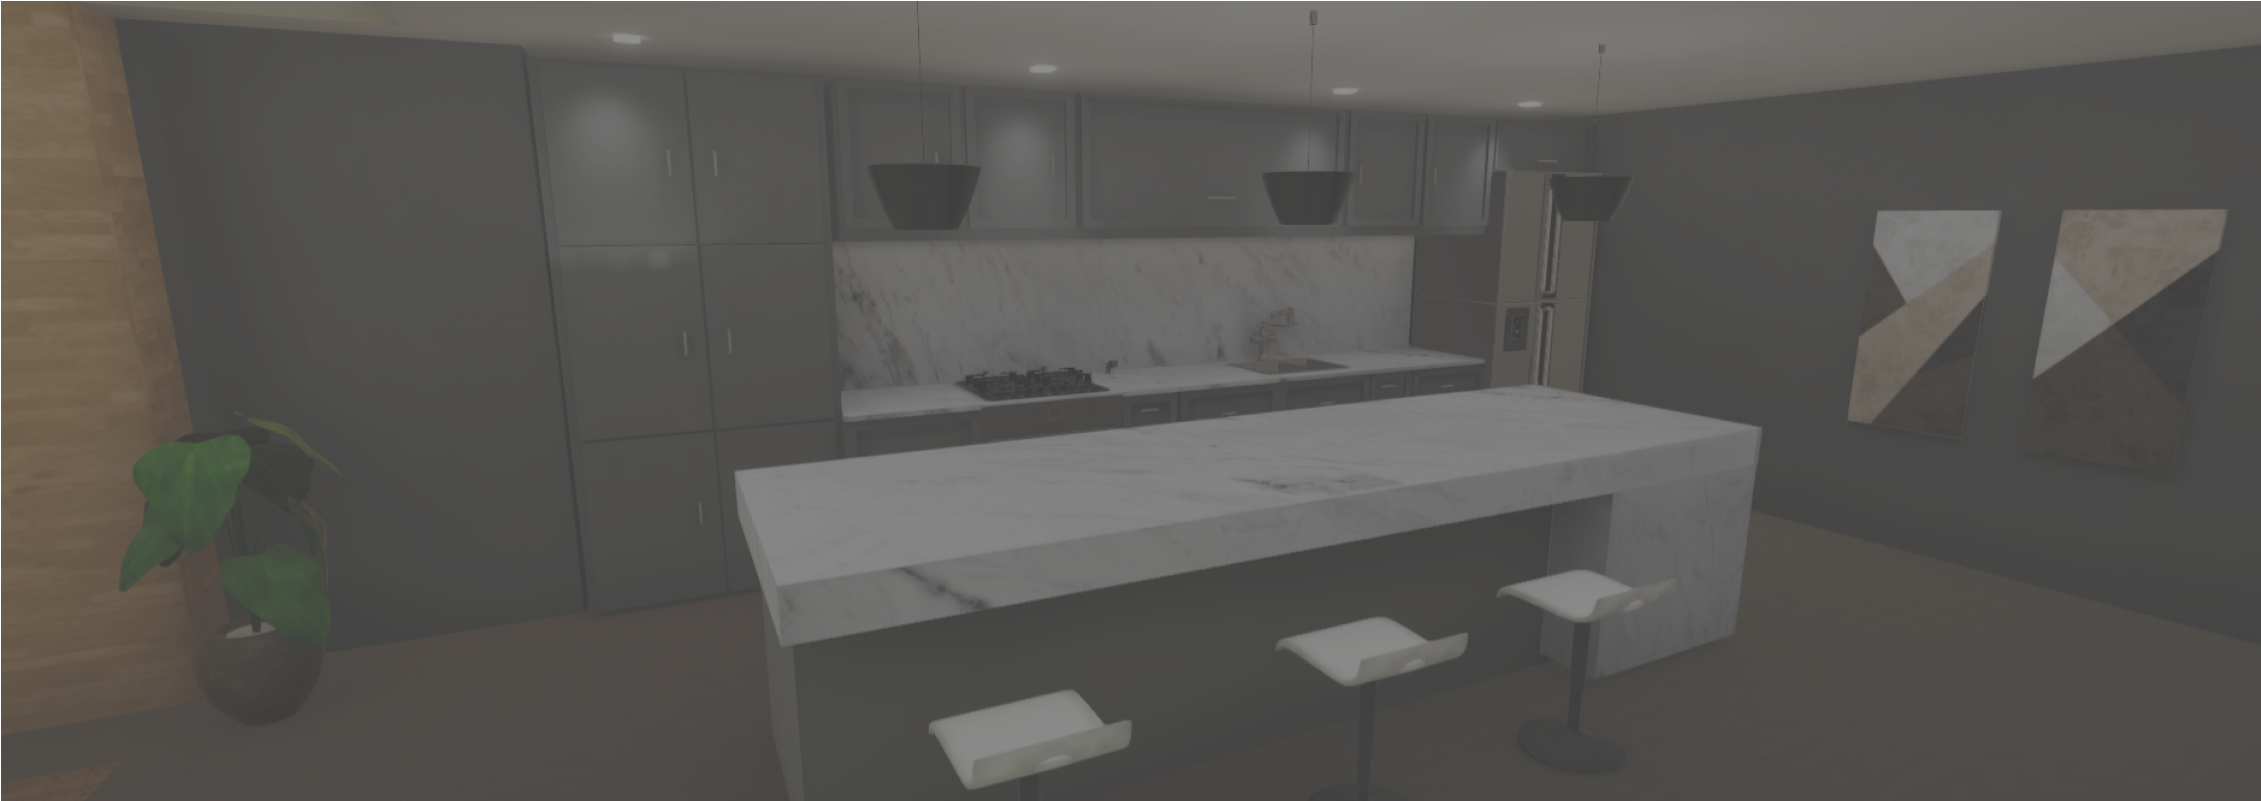
Here at SlabWare, we’ve updated our kitchen visualizer to 3D! And you can now add your favorite slabs to use in this feature! Edit your layout, choose the materials, and walk your customer through a virtual house to show him how his own house could be.
3D Visualizer allows your customer to see how his kitchen, bathroom, or living room is going to be, and try out different materials for every environment. That is extremely useful to interior designers or architects who want to explore decoration and environment creation using ornamental stones.
Through the steps below, we are going to demonstrate to you how to upload your materials to the system, divide them into the respective categories, set everything up, and after all, we will take you on a virtual tour of our virtual apartment to show you your customer will explore it. So without any further introduction, let’s get to the topic.
Step 1: Where to find your 3D Visualizer
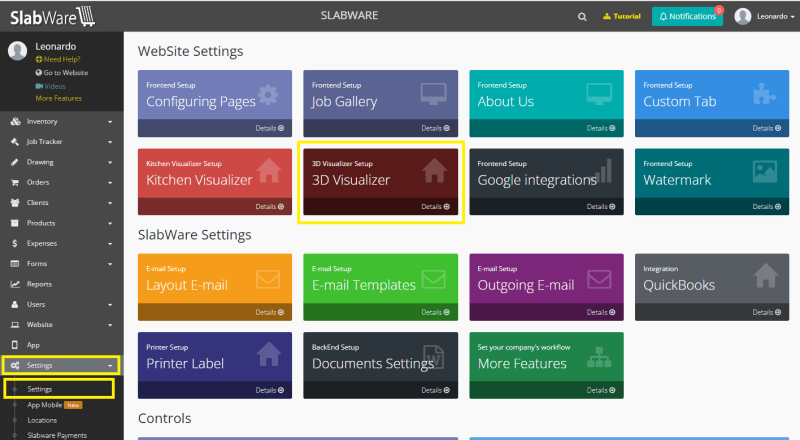
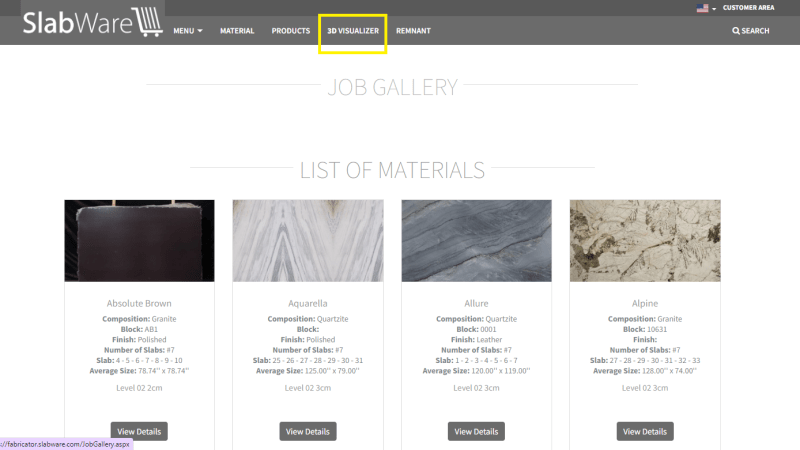
In the BackEnd system, on the left-side menu go to Settings > Settings, and then click on the button 3D Visualizer.
Step 2: Adding the materials to your system
When you click on the 3D Visualizer button as shown in the previous section, the screen below with the list of added materials will appear. You’ll find materials are divided into 4 categories: stone, wall, floor, and cabinet. This is important as you’ll have to select which surface type you’re uploading the image for.
All you have to do to add a new material is click on the button New as in the image below. You can also edit the selected material by clicking on the pencil button on the column Options, as shown in the image below.
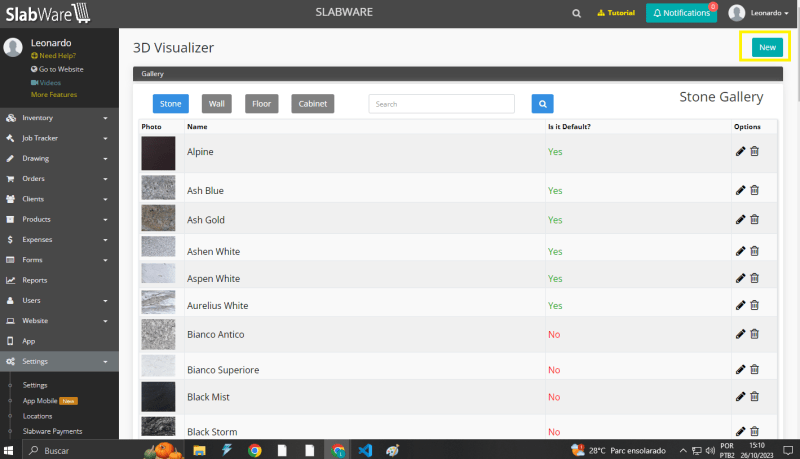
After you click on New, the next screen appears.
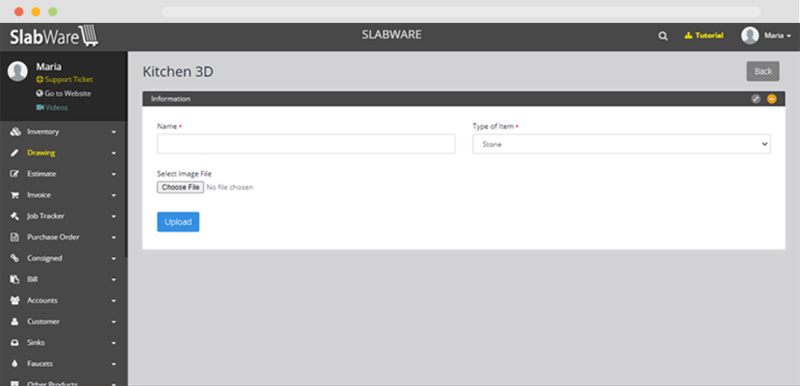
Then, click “Choose File” and the upload will begin. Next, you’ll need to choose a name for this material. This is how the material will appear on your FrontEnd page. The final step is to add the material to one of the categories above.
If everything looks okay, hit save. Don’t forget the fields marked with a red * are mandatory fields and must be filled in. Set’s move on.
Step 3: Checking your Kitchen, Bathroom and Environments
Next, you’ll need to open the 3D Visualizer on your FrontEnd page:
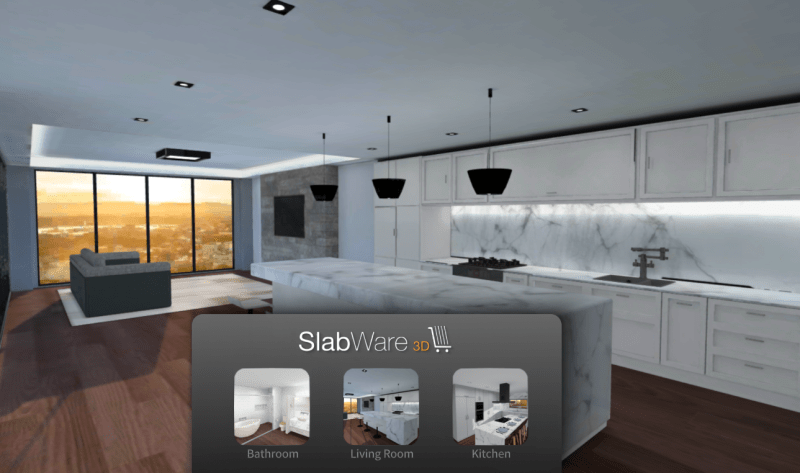
When you open the system, the following screen will appear, where you can choose which environment you will be exploring:
To view your newly added materials you’ll need to click the slabs icon on the surface you wish to change. Remember, things added to the stone category will only appear as an option for stone surfaces in the kitchen. Check out the image below:
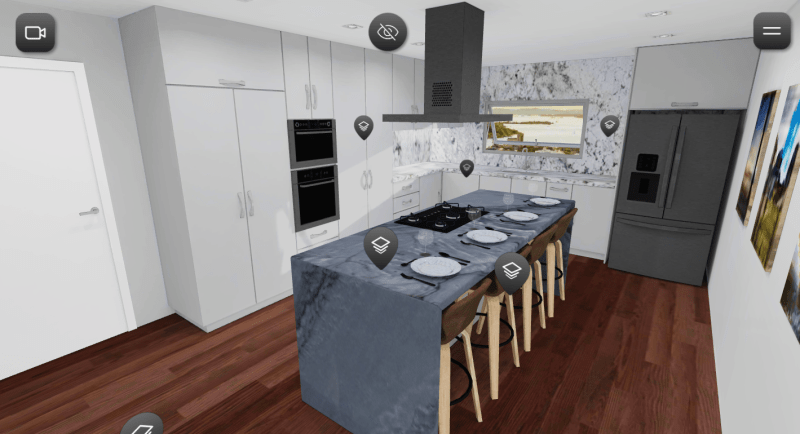
It is possible for you to navigate the scenario using the W, A, S, and D keys. To change your point of view within the scenario left-click anywhere or use the left/right arrow buttons on your keyboard.
Fun fact: In case you are wondering, if you look out of the windows in our virtual apartment, you will see a virtual model of the Oslo Fjord – and no, in reality, there are no buildings as high as that window would have to be to have that view.
If you want to try out the 3D Visualizer and other systems, we give you a free time-limited invitation in this post!
If you are already using SlabWare, we invite you to invest a little bit of time to check out our Blog and schedule a ONLINE DEMO. Come and see how using SlabWare to its full potential will save you much of your future time.
Keep reading