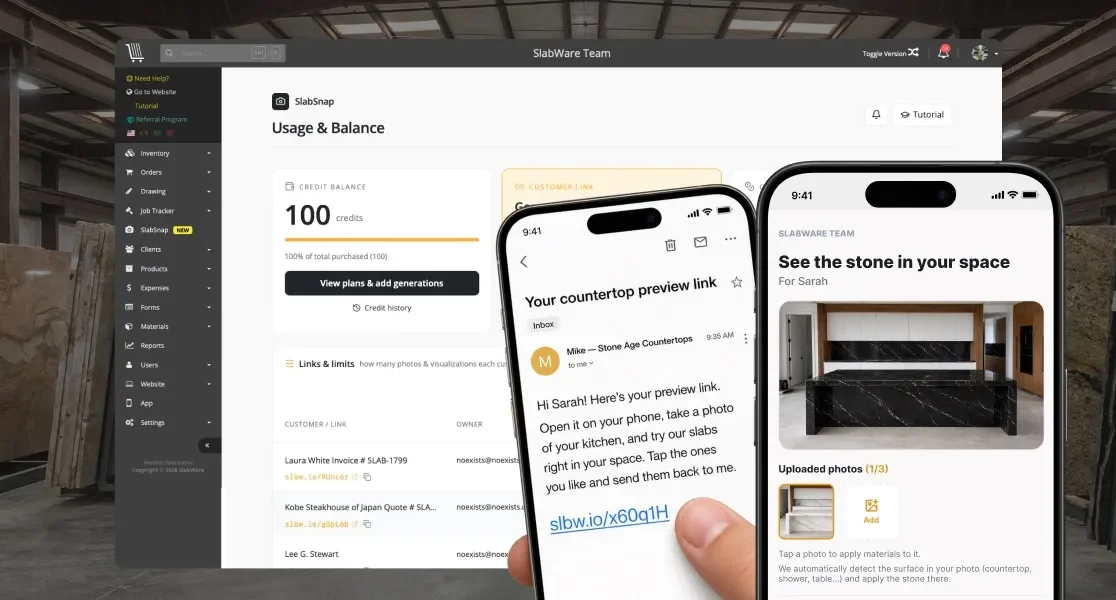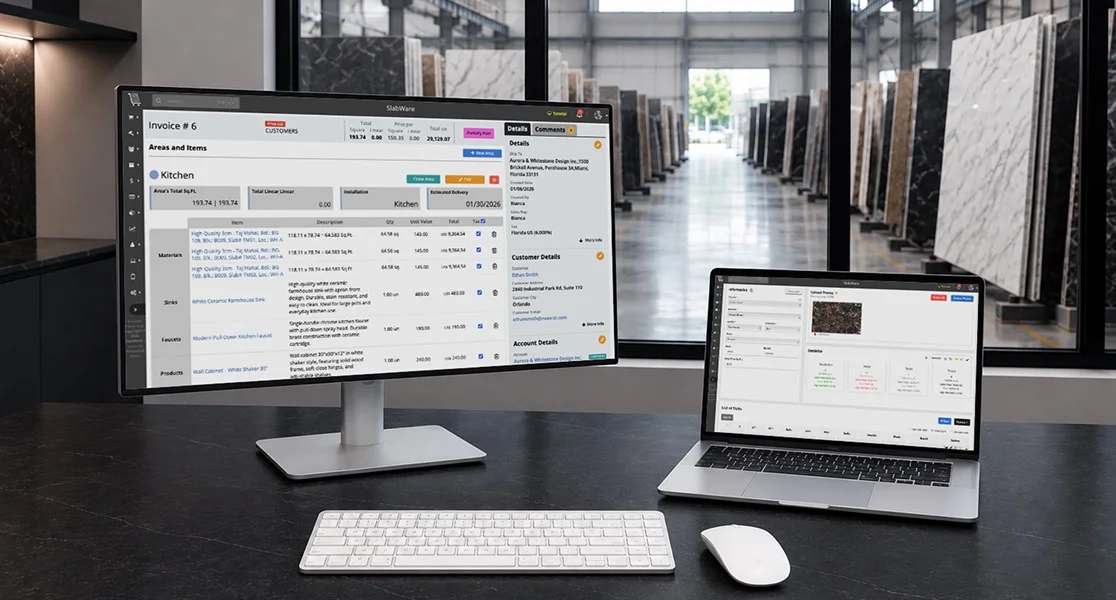

In this Slabtutorials post, we’ll go through the sales workflow into the system.
From registering materials into your Inventory until creating an Invoice in the end.
In the end of the post there will also be a video with this tutorial on SlabWare’s YouTube channel.
Registering a new Bundle
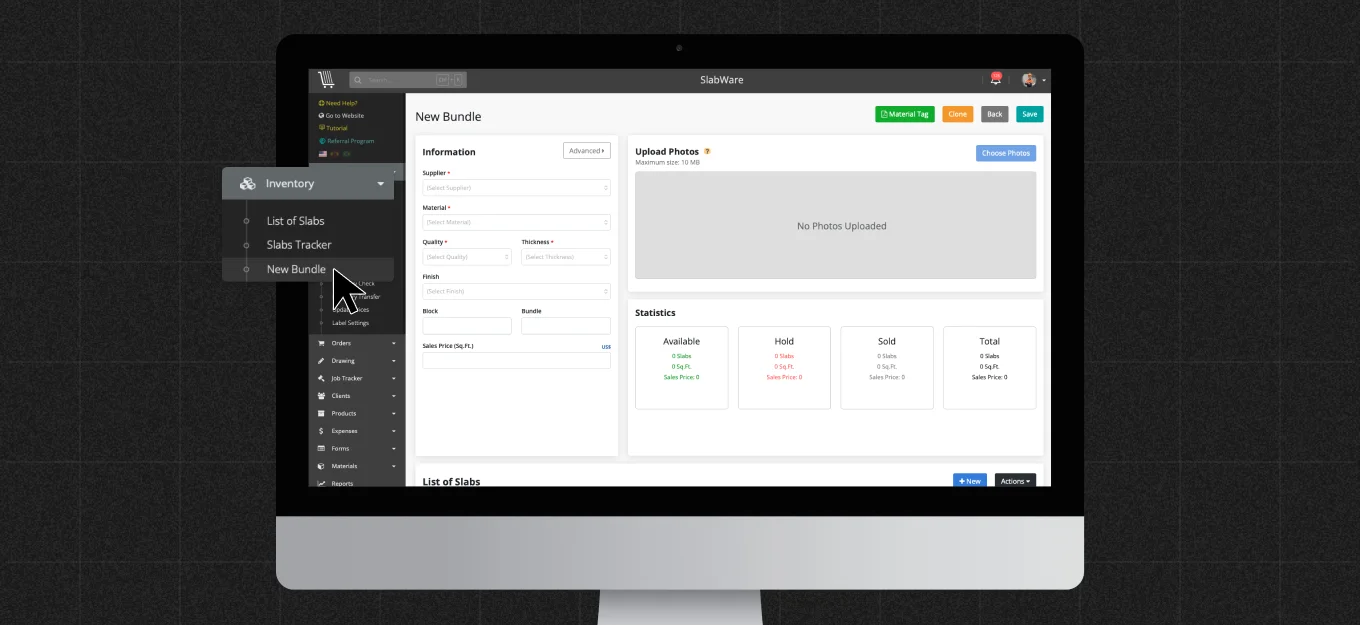
On the left-side menu, go to Inventory and then New Bundle. Fill in the required information on that page.
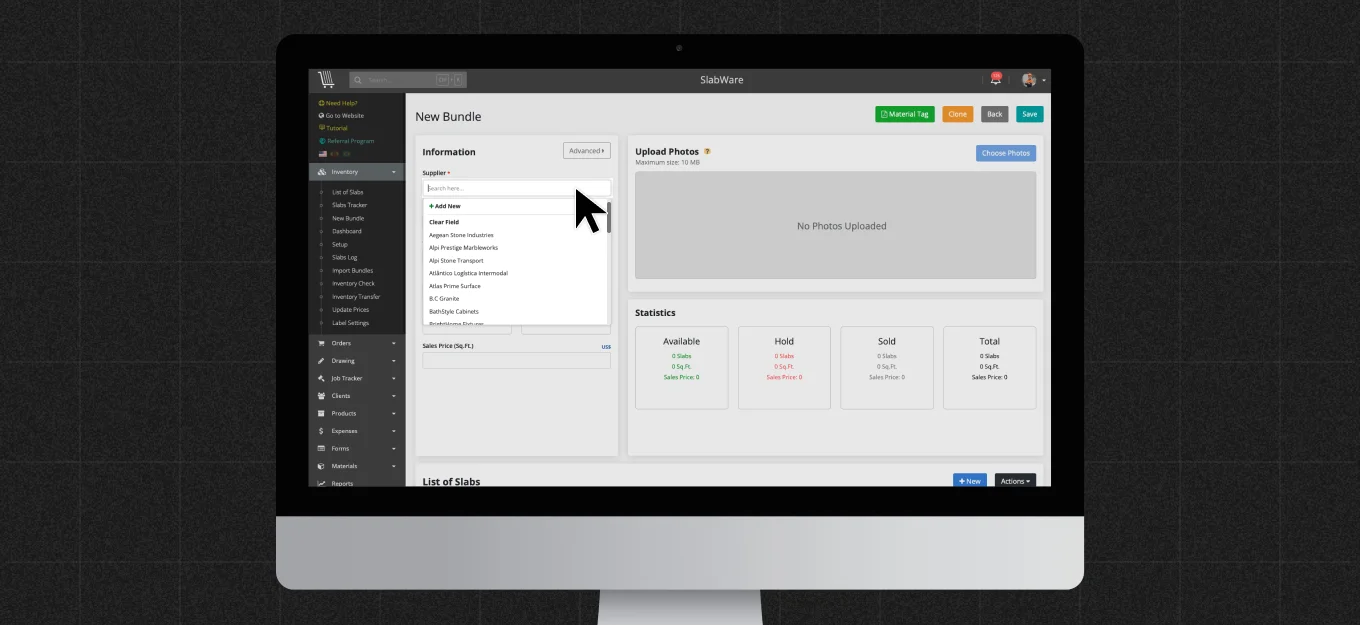
Some information, such as the Supplier or Material, can be previously added into the system. If you don’t have them inserted yet, you can simply click Add new, as shown below:
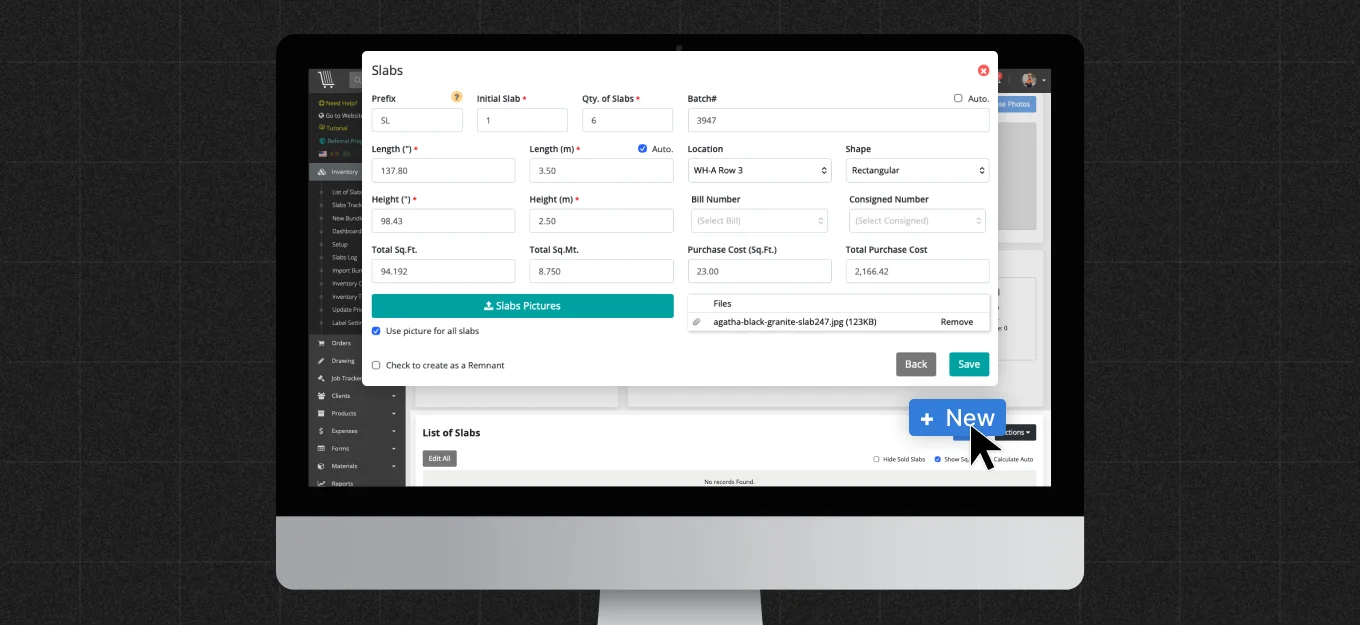
To add the slabs that your bundle has, find the section List of Slabs, click New, and fill in the required information on the new screen.
Registering a Customer
After registering the bundles, the next step is to register a customer.
On the left-side menu, click Clients, then navigate to Customers, and select New Customer.
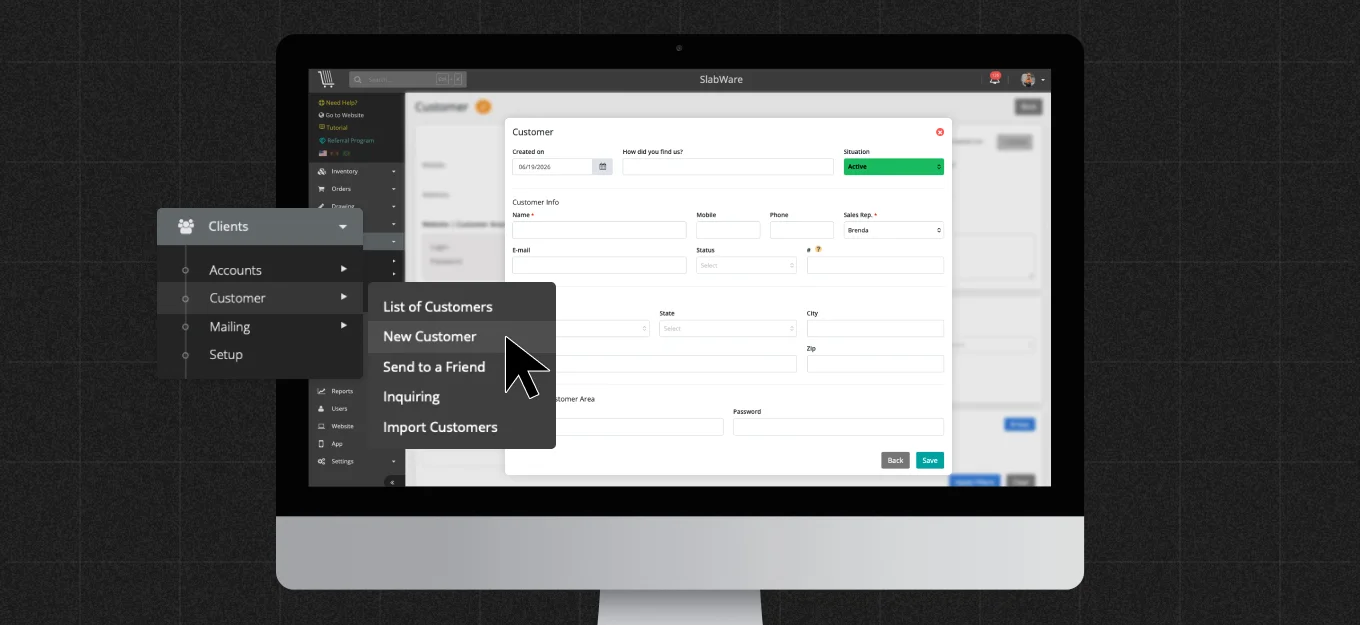
You must fill in the required information about your customer on the screen that appears, and your customer will be created.
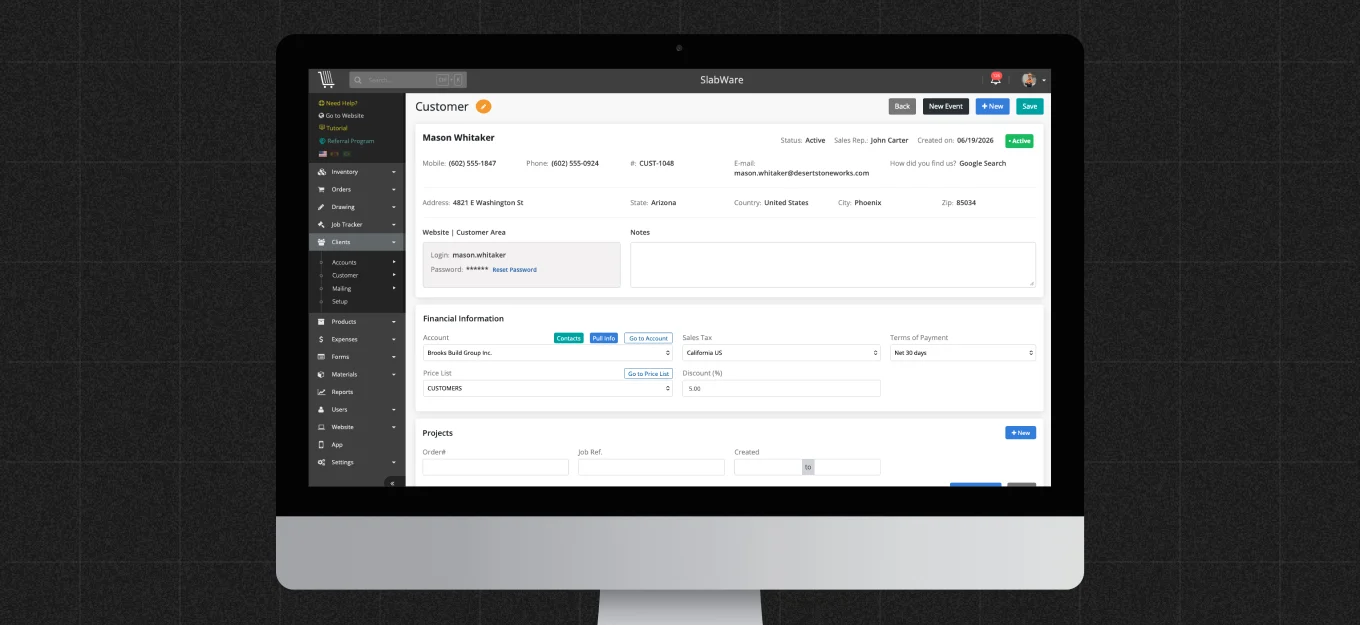
In that page, you can also link an Account (a partner that brings customers to you, such an architect, a contractor, a builder, or anyone like that) to that customer. To do that, find the section Financial Information as shown on the screen above.
Then you proceed to the next step, which is creating a project for that customer: you can do it here, by finding the section Projects, clicking New, and then Drawing, as shown below:
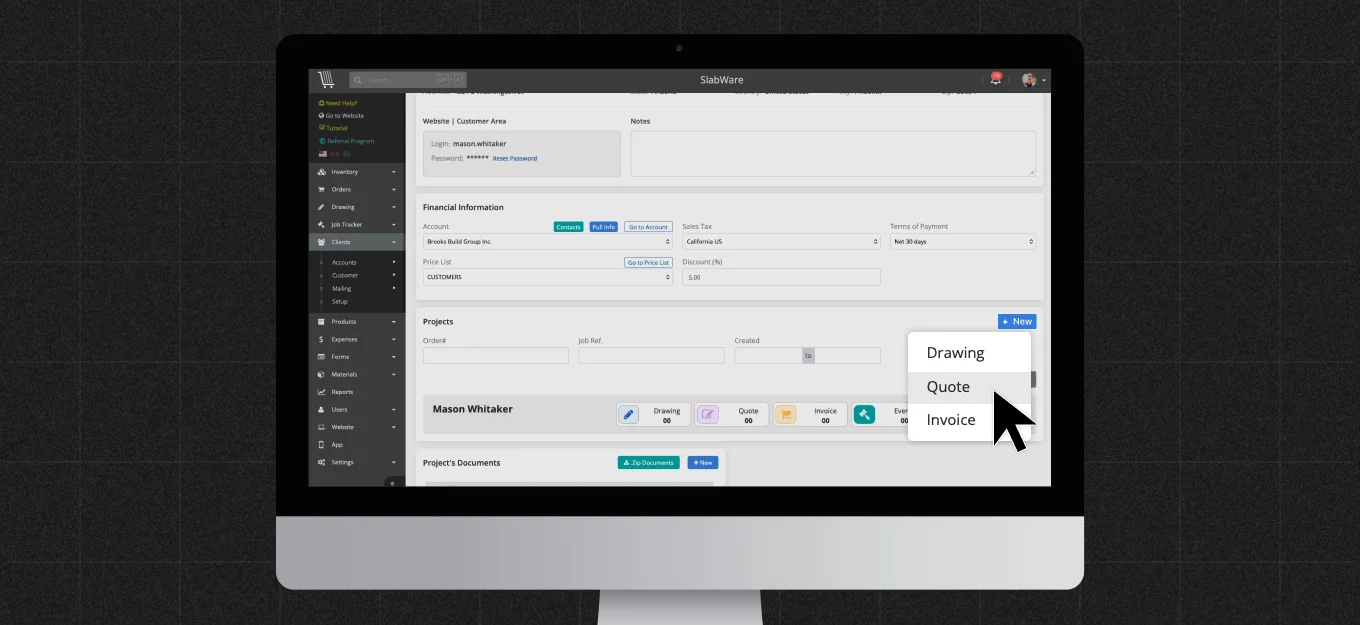
Creating a Project: Drawing
Besides that, you can also start a new Drawing by clicking Drawing on the left-side menu.
If you start it that way, fill in the information about the customer and select the drawing version you’re using. We recommend using the 3.0 version.
Next, simply draw the countertops on your project.
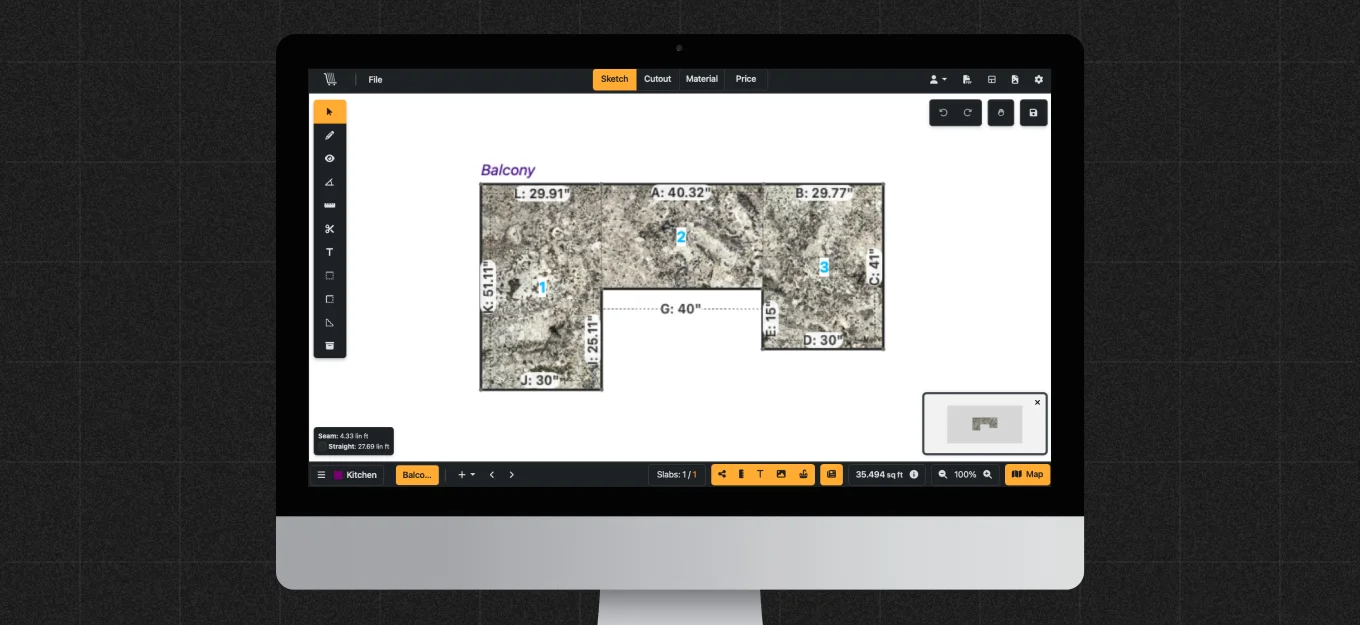
If you’re not familiar with the steps of the Drawing, there is an entire playlist dedicated only to that in our YouTube Channel on this link.
After your Drawing is complete, your materials have been inserted, and your areas organized, click on Create Quote to move on to the next step.
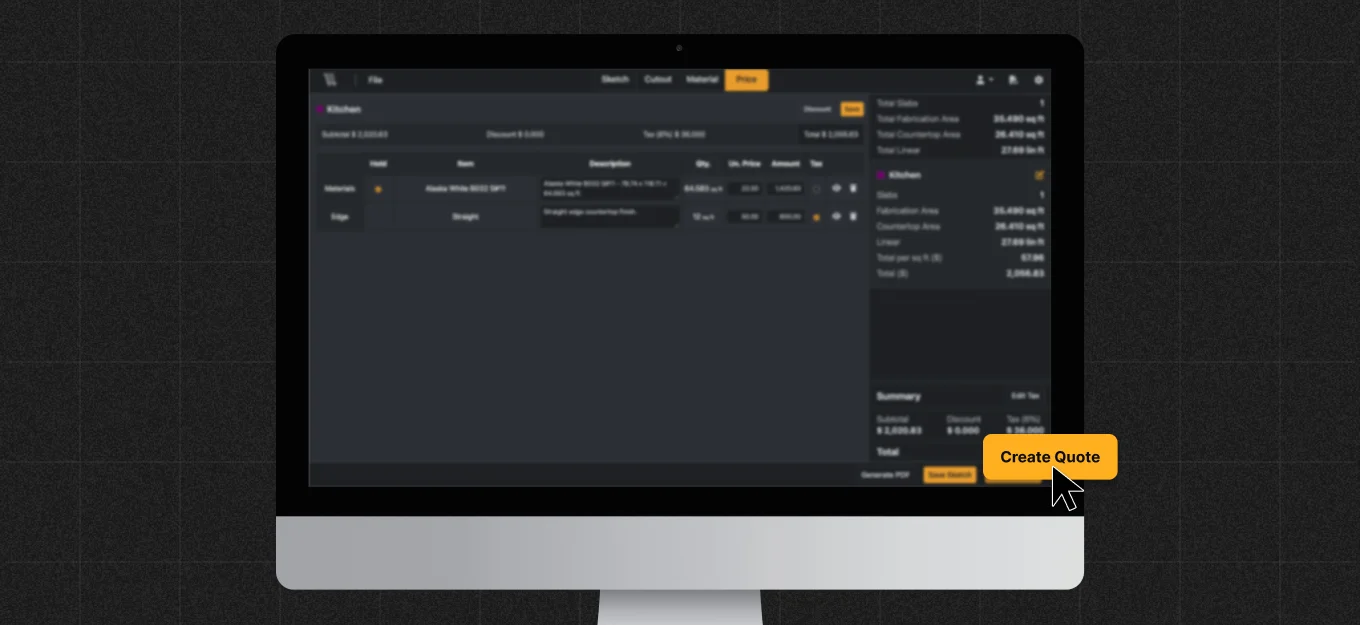
Creating a Quote
After you click to create a quote as shown above, the Quote page will appear.
It is important to note that the changes made here won’t affect your drawing.
You can use this screen to include custom items or products from your inventory.
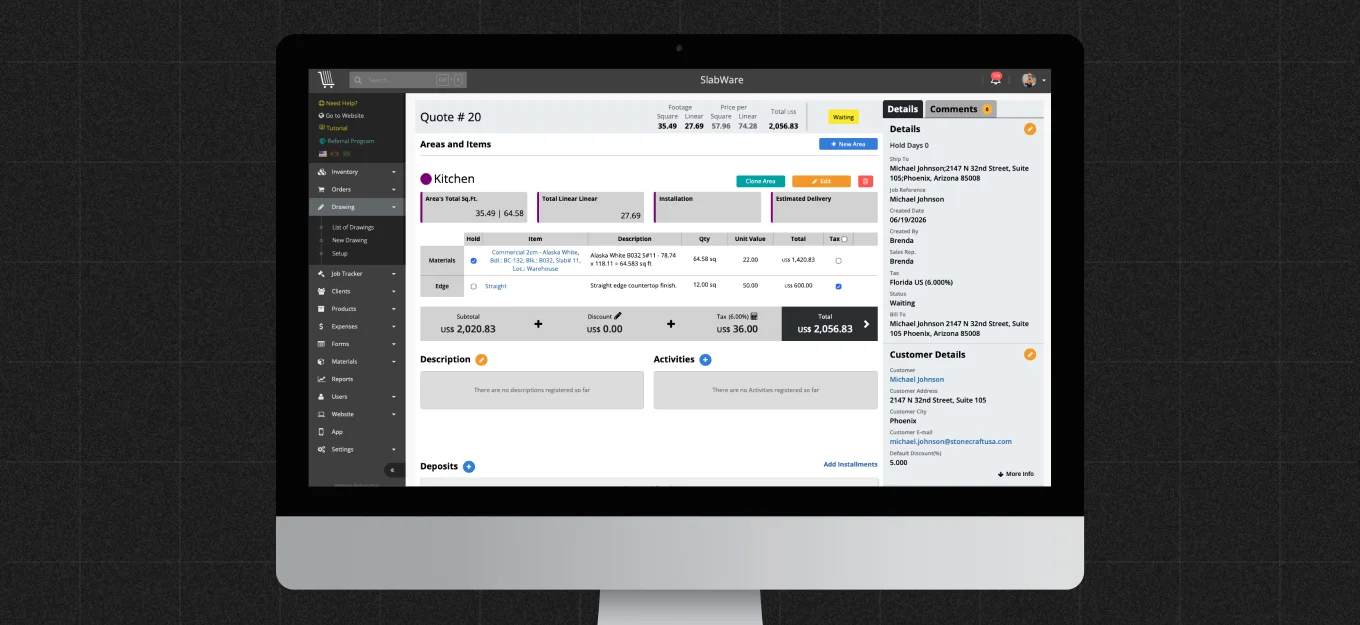
You can also use the right-side menu to generate a PDF or send the quote to your customer, for example.
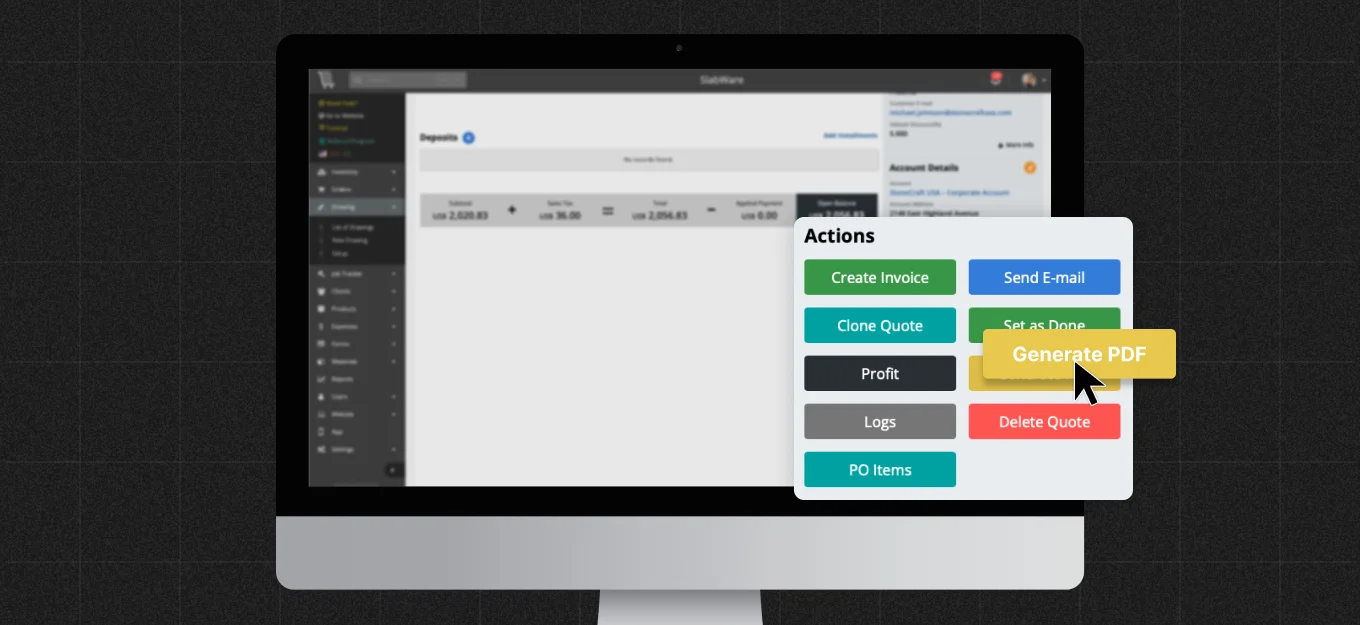
Let’s click generate PDF.
A new PDF edit screen will appear, as shown below:
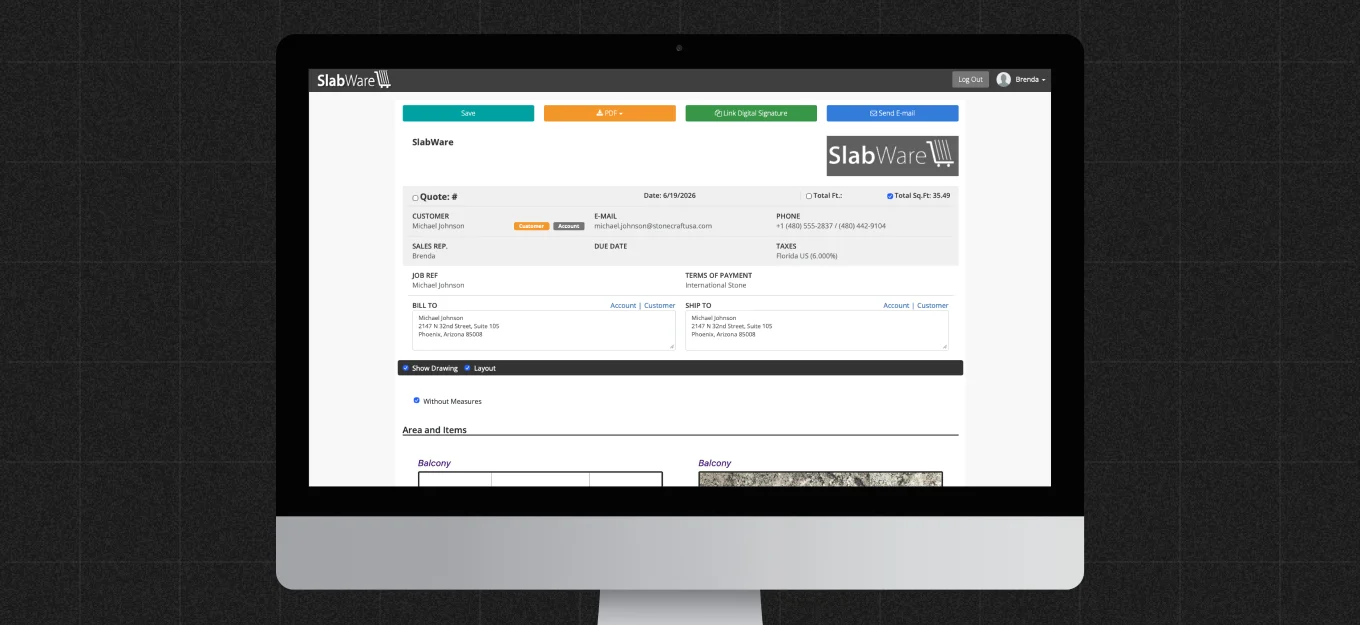
On that PDF page, you can preview the document, and choose what will be visible to the customer using the checkboxes below.
You also have the options to print the PDF, download the file, or directly attach it to your quote.
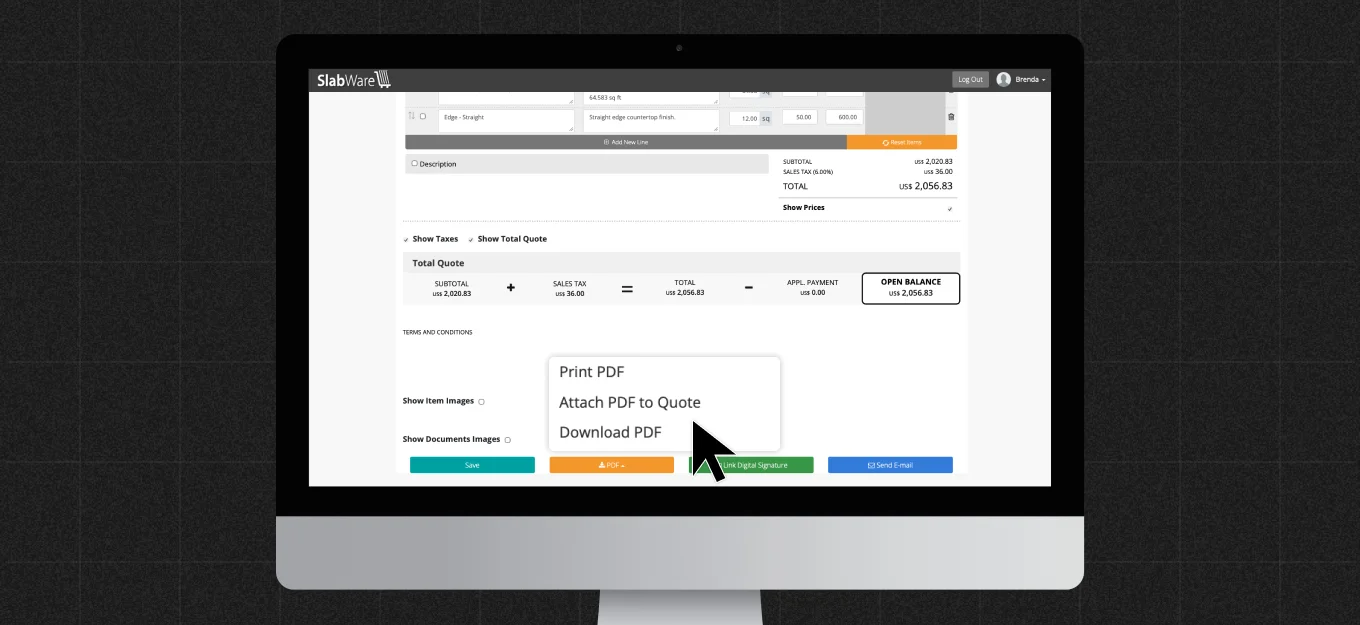
If you click the blue button (on the screen above) Send E-mail, a new screen will appear where you can send the quote by email to your customer.
Under “Choose type”, select “Send Quote”, then simply fill in the required information and hit Send.
5. Continue viewing this SlabTutorials post at our YouTube channel.
Keep reading